
Introduction
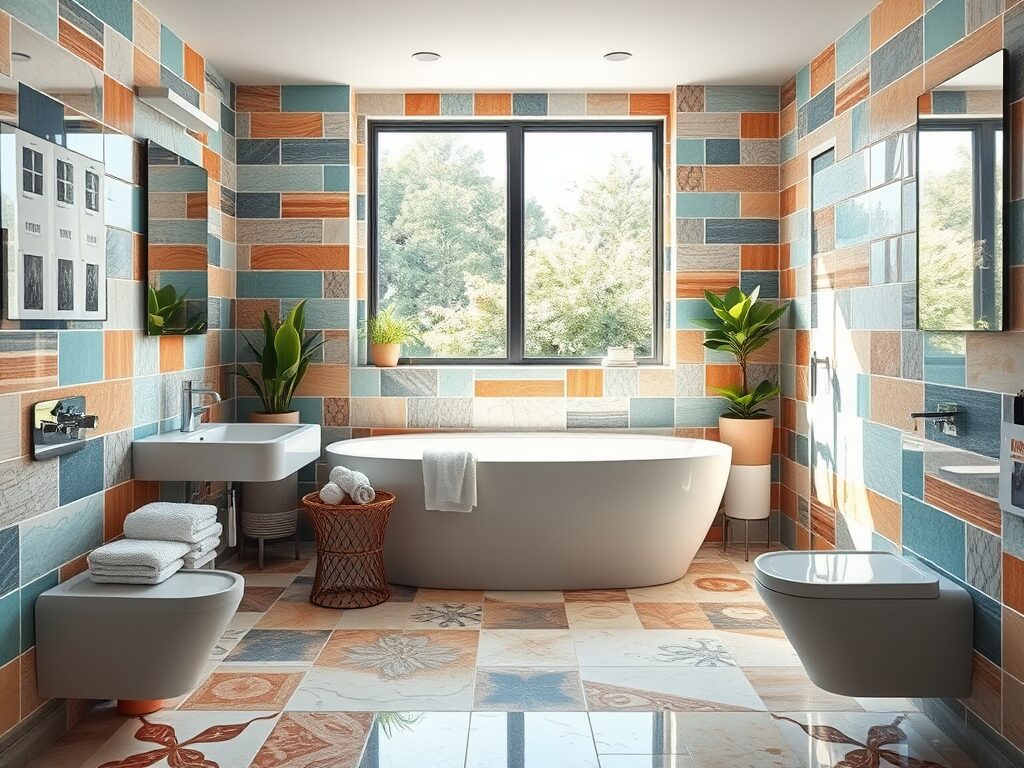
How to tile a bathroom is a rewarding DIY project that can transform your space. The process involves several key steps, including preparing the surface, planning your layout, and applying adhesive. Once you know how to tile a bathroom, you’ll move on to placing and cutting tiles, grouting, and sealing. By following these steps carefully, you’ll achieve a clean, polished finish that enhances your bathroom’s functionality and appearance.
| Steps | Details |
| Gather Materials | Tiles, cutter, adhesive, grout. |
| Prepare Surface | Clean and dry. |
| Plan Layout | Mark the center align tiles. |
| Apply Adhesive | Spread thinset. |
| Place Tiles | Press tiles use spacers. |
| Cut Tiles | Measure and cut edges. |
| Let Set | Wait 6-24 hours. |
| Grout Tiles | Apply grout and wipe excess. |
| Seal Grout | Seal after 24 hours. |
| Clean Up | Clean tiles and grout. |
| Maintenance | Clean, reseal, and repair. |
| Cost | Tiles: $1-5/sq. Ft.; Premium: $10-20/sq. Ft.; Labor: $5-10/sq. Ft. |
How to Tile a Bathroom?
How to Tile a Bathroom involves several key steps, including surface preparation, layout planning, adhesive application, and grout sealing. By following a systematic approach, anyone can achieve a professional-looking finish. Whether it’s your first time or a seasoned DIYer, understanding how to tile a bathroom ensures durability, enhances aesthetic appeal, and helps maintain a clean, functional space.
Essential Tips for Planning and Installing Bathroom Tile
Before laying any tile in a bathroom, careful planning ensures a smooth installation and long-lasting results. Start by measuring the floor and wall surfaces accurately to determine how much tile you’ll need, and always plan your layout so that cut tiles fall in less noticeable areas, such as corners or behind fixtures. Preparing the surface is equally important — walls and floors must be clean, dry, and level so that the adhesive bonds correctly and tiles sit flat without gaps. When applying tile adhesive, use a notched trowel to spread thinset evenly, and press each tile firmly into place while maintaining consistent spacing with tile spacers. Grouting should be done after the adhesive has fully set; push the grout into the joints with a rubber float and wipe away excess with a damp sponge for a clean finish. Taking these preparatory steps and working methodically can help avoid common problems like uneven tiles or weak grout lines, resulting in a bathroom tile installation that is both attractive and durable.
Gather Your Materials
Before starting your tiling project, gathering all the necessary tools and materials is important. You’ll need tiles, a tile cutter or wet saw, tile adhesive (thin-set), a notched trowel, grout, a grout float, a sponge, and a measuring tape. Make sure to measure the area you’re tiling to purchase the right tiles. Having everything ready will help the process go smoothly.

Prepare the Surface
The first step in tiling a bathroom is to prepare the surface to apply the tiles. Ensure the walls and floor are clean, dry, and debris-free. If tiling over old tiles, make sure the surface is secure. You may need to install a backer board for added stability for drywall.
Plan the Tile Layout
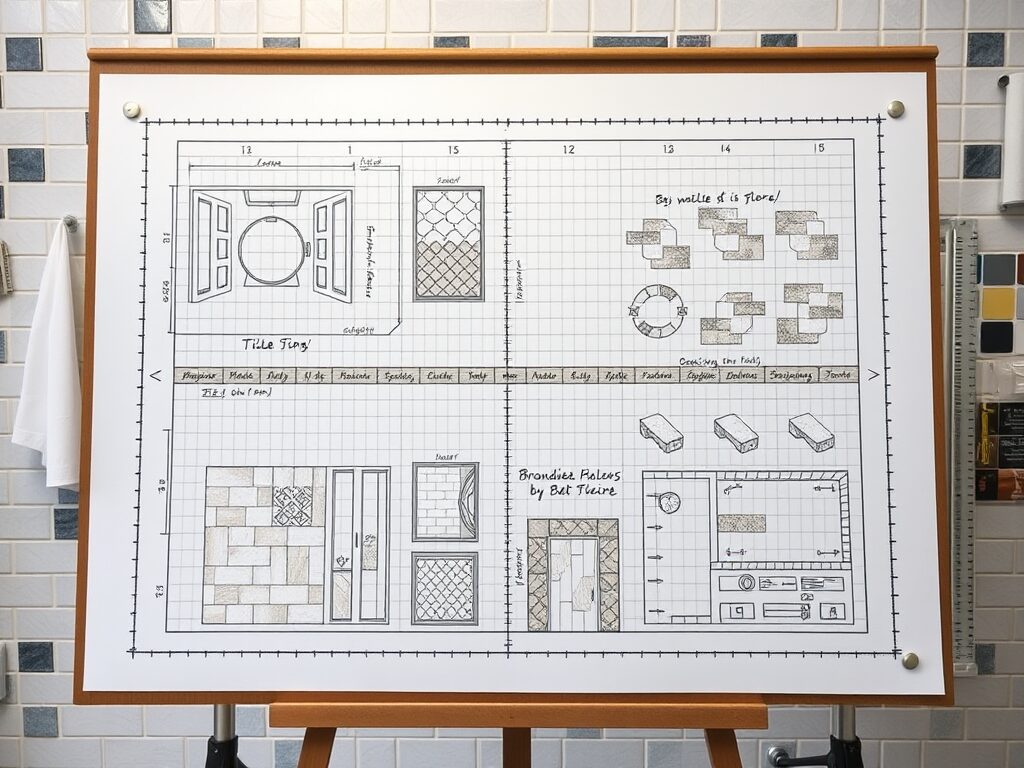
Planning your tile layout before applying adhesive is key to a neat finish. Start by measuring the center of your bathroom wall or floor. Use a level or chalk line to mark a straight reference line. This will help you align the tiles evenly. Consider tile patterns, such as straight or diagonal, and dry-fit a few tiles to check how they fit.
Apply the Tile Adhesive
Now, it’s time to apply the tile adhesive. Use a notched trowel to spread a thin layer of thin-set onto the surface. Work in small sections to prevent the adhesive from drying before you lay down the tiles. Hold the trowel at a 45-degree angle to create even ridges. It’s essential to apply the glue evenly,
Place the Tiles
Start placing tiles onto the adhesive, beginning at the center line you marked earlier. Press each tile firmly and slightly twist it to ensure good adhesion. Leave a small gap (usually about 1/8 inch) between the tiles for grout. You can use tile spacers to maintain consistent spacing.
As you work your way across the area, make sure the tiles are aligned with each other. If you encounter areas that require cutting, measure and cut tiles using a tile cutter or wet saw.
Cut Tiles to Fit
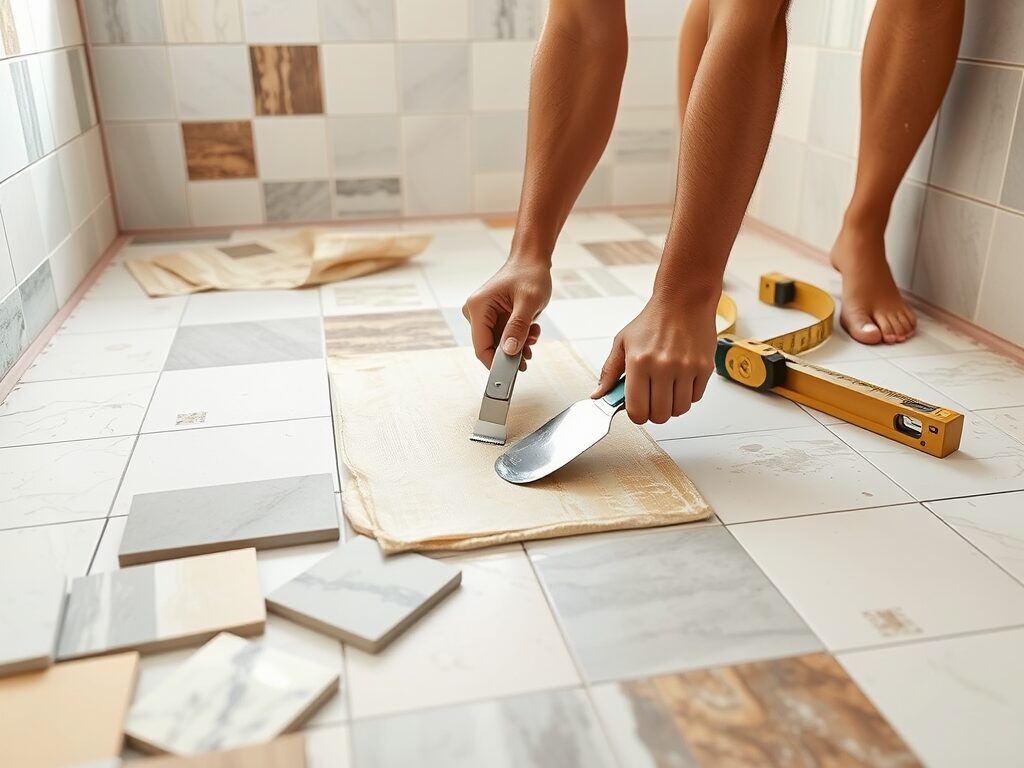
When you reach the edges of your bathroom or encounter obstacles like faucets or corners, you’ll need to cut tiles to fit. To do this, measure the space accurately and mark your tiles. Use a tile cutter or wet saw to make clean cuts. For curved edges, consider using a tile nipper. Cutting tiles may take a little practice but with patience.
Let the Tiles Set
After placing all your tiles, allow the adhesive to set. Depending on the type of adhesive, this could take anywhere from 6 to 24 hours. Not rushing this step is essential; letting the adhesive cure ensures your tiles stay securely in place. Avoid walking on or disturbing the tiles while they are set. Make sure the surface is completely dry before proceeding to the next step.
Grout the Tiles
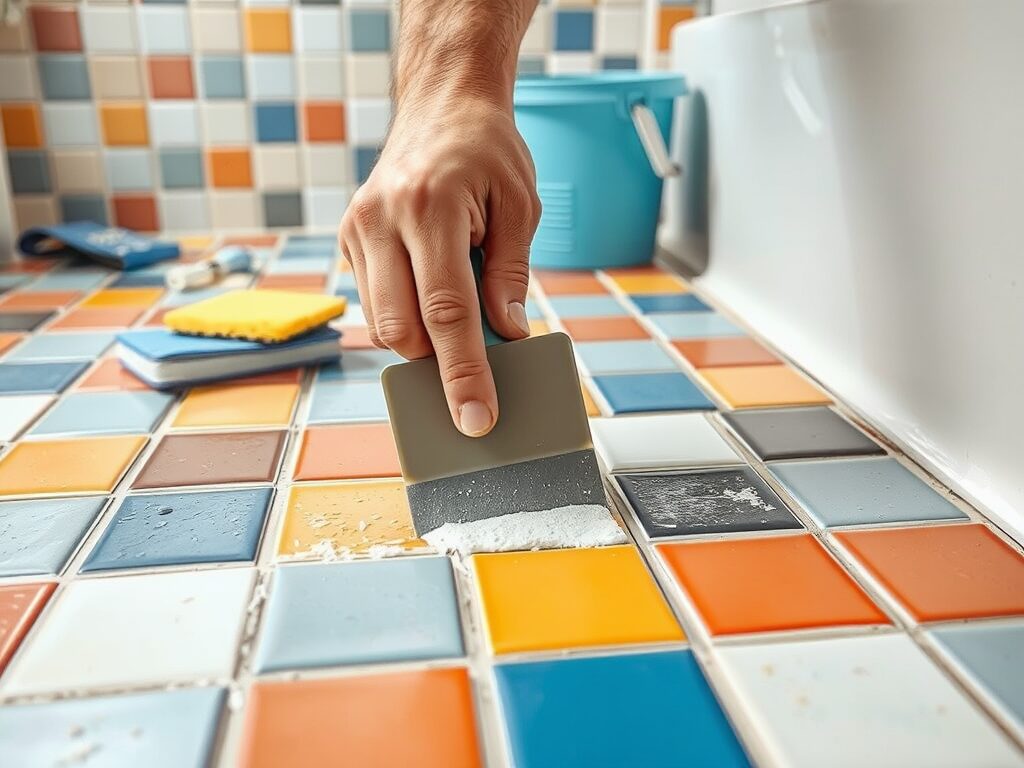
Once the adhesive has set, it’s time to grout your tiles. Begin by mixing the grout according to the manufacturer’s instructions. Use a grout float to spread the grout over the tiles, pressing it into the gaps between them. Work in small sections and wipe off excess grout with a damp sponge.
Be careful not to remove grout from the joints while cleaning. Allow the grout to set for 15-30 minutes, then clean any remaining haze with a soft cloth.
Seal the Grout
After the grout has fully dried (usually 24 hours), it’s essential to seal it. Sealing the grout helps prevent stains and mold growth, especially in bathrooms. Apply a grout sealer using a small brush or applicator to cover the entire grout line. Follow the manufacturer’s directions on drying time.
Clean Up and Enjoy
After all the hard work, give your newly tiled bathroom a final clean. Wipe down the tiles, remove grout haze, and admire your handiwork. Installing tiles in your bathroom can be a satisfying DIY project, and knowing how to tile a bathroom is useful for future home improvement projects. Now, you can enjoy your bathroom’s fresh, updated look for years to come.
Choosing the Right Tile for Bathroom Conditions
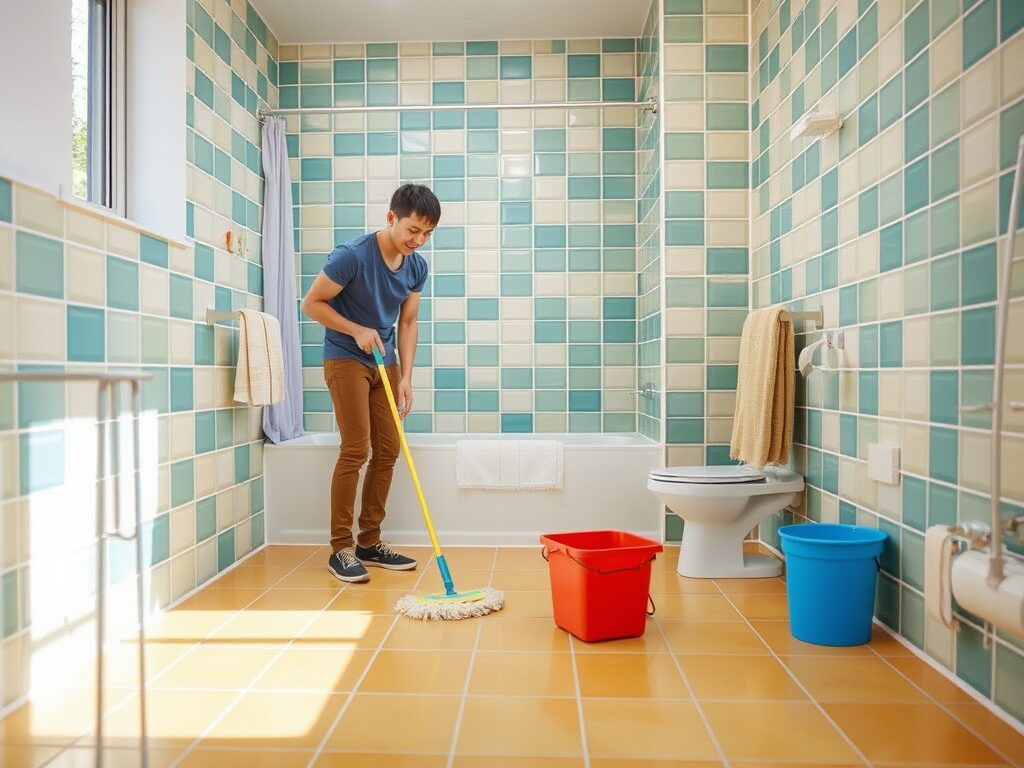
Selecting the appropriate tile is an important part of any bathroom tiling project because different materials offer varying levels of durability, water resistance, and maintenance requirements. Porcelain tiles are often favored for high-moisture environments due to their low water absorption rate and long-lasting performance, while ceramic tiles provide a cost-effective and versatile option for walls and lighter-use areas.
Homeowners should also consider slip resistance, particularly for bathroom floors, where textured or matte-finish tiles can improve safety. Choosing the right tile from the beginning not only enhances the appearance of the bathroom but also contributes to the longevity and practicality of the finished installation.
Maintenance
- Maintaining bathroom tiles is relatively simple. Regular cleaning with mild, non-abrasive cleaners helps prevent grime buildup and maintains their appearance.
- Grout should be resealed every 1-2 years to avoid moisture penetration.
- For tiles, ensure the surface is free from cracks or chips, and promptly repair any damage to avoid further issues.
- Routine maintenance ensures longevity and keeps your bathroom looking fresh.
Cost
The cost of tiling a bathroom varies based on factors like tile material, size, and project complexity. Budget tiles can cost between $1 to $5 per square foot, while higher-end options like natural stone or designer tiles can range from $10 to $20 or more. Additionally, labor costs for professional installation can add $5 to $10 per square foot. Planning helps manage expenses effectively.
Conclusion
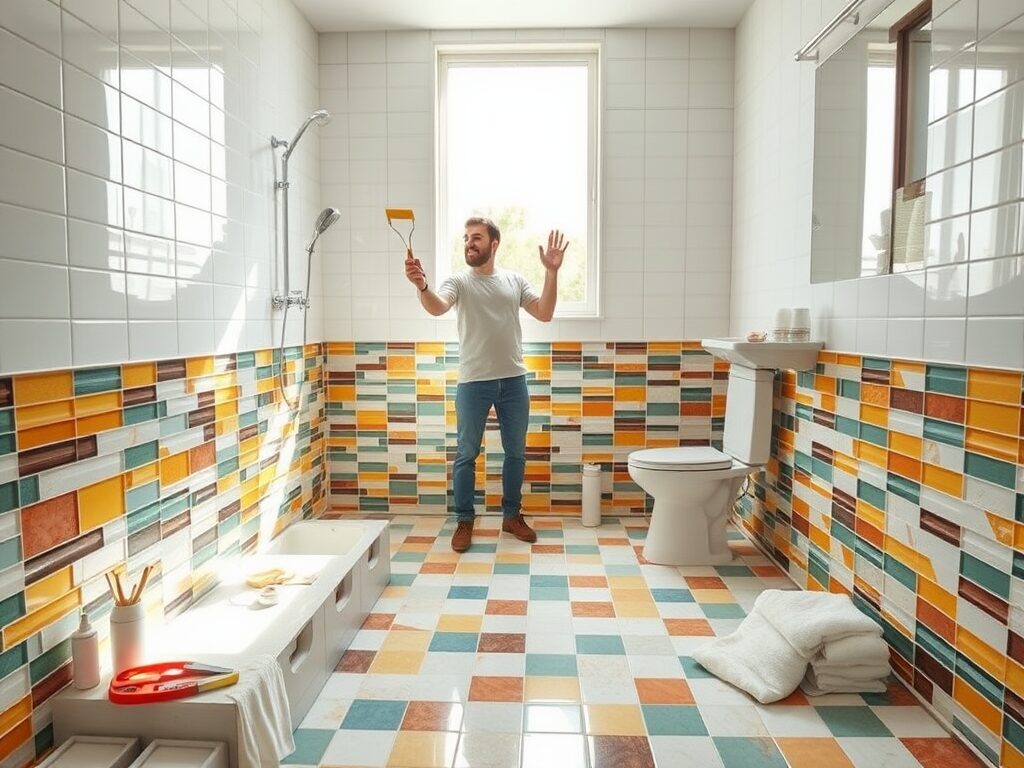
In conclusion, knowing how to tile a bathroom can greatly improve the look and function of your space. By gathering the right materials, including tiles, adhesive, and grout, and following each step—surface preparation, layout planning, adhesive application, and grout sealing—you can achieve a professional finish.
With tiles ranging from $1 to $20 per square foot and labor costs around $5 10 per square foot, it’s a cost-effective way to enhance your bathroom.
Apart from that if you want to know about “Bunk Beds for Small Rooms: Maximizing Space with Style, Its Types, And Benefits” then please visit our “Home Improvement” Category.
FAQs
Tiling usually takes 1-3 days, depending on the bathroom size and drying times.
You’ll need tiles, a tile cutter, adhesive, grout, trowel, float, and spacers.
Tiles cost $1-20 per sq. ft., with labor fees around $5-10 per sq. ft.
Ceramic and porcelain tiles are commonly preferred for bathrooms because they are water-resistant, durable, and easy to maintain.
Yes, bathroom tiles can sometimes be installed over existing tiles if the surface is stable, level, and clean, though proper preparation is essential.